Custom-Coded Block- C/C++
VisualSim provides facilities to use C\C++ code and software applications directly in VisualSim using the Custom_C Block. VisualSim automatically generates code to wrap the programs. This section focuses on how to create VisualSim models that access C\C++ application or program. For compiling and creating executable models, all example models are given and also available under demo/Interfaces/UserNativeC directory. To complete this section, a C compiler is required.
Following are the general procedures:
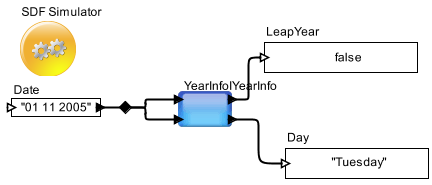
The example model shown in Figure 1 is located under VS\demo\Interfaces\UserNativeC\YearInfo directory. This model uses a Custom_C Block, which takes date as input and outputs two values namely,
Figure 1: YearInfo model
Steps involved in creating this model are explained in the following segments.
This chapter explains how to use and configure the Custom_C to interface with an application. The Custom_C Block is located in the Full Library > System_Language > C and CPP. The block can be placed on the canvas in the same way as any other blocks. After the Custom_C Block has been placed on the canvas, the block needs to be configured.
The Custom_C block is configured for functions which are executed every time data is available on all the inputs. Multiple CustomC blocks can be instantiated in the model. Each block calls the same or unique functions. First specify the function by right-clicking Custom_C block and selecting Customize > Configure.
Drag the Custom_C block from Full Library > System_Language > C and CPP > Custom_C. The parameters are as follows:
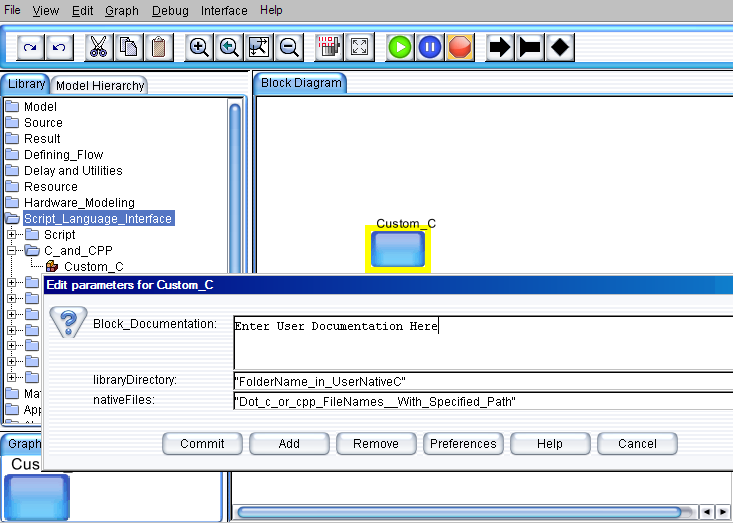
Figure 2: Configuring the Custom_C block
Now use the standard block port settings to add ports to the block. To do so, right-click on the block and select Configure > Ports.
Having configured the global parameters, the arguments for the interface to this C code must now be configured. To do this,
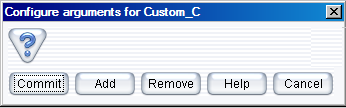
Figure 3: Configure Arguments for the Interface Block
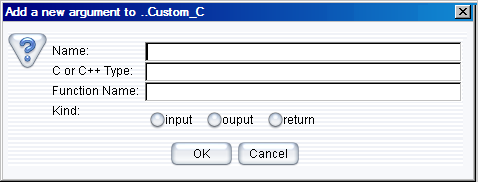
Figure 4: Add Arguments
Enter the name of argument, native type (type in C) and the function name. Enable the required Kind and click OK to add the arguments. Each port can be configured to execute a different function inside the .cpp file.

Figure 5: View of Argument window after entering the values
Types supported:
Note that when code generation has been executed once, there is no need to repeat it. The following table shows the native C\C++ types and their corresponding Java Types.
|
|
Size (on INTEL PC)
|
Corresponding VisualSim Types
|
Size
|
Boolean |
1 bit |
boolean |
1 bit |
Not Available |
N/A |
byte |
1 byte |
Char |
1 byte |
char |
2 bytes |
Short |
2 bytes |
short |
2 bytes |
Int |
2 or 4 bytes |
int |
4 bytes |
Long |
4 bytes |
long |
8 bytes |
Float |
4 bytes |
float |
4 bytes |
Double |
8 bytes |
double |
8 bytes |
Table 1: Native C\C++ types and their corresponding VisualSim Types
After the Custom_C Block is configured and all the fields of its arguments and ports are specified, the next step is to generate the interface code, which allows executing the Custom_C block. Use Interface > Generate Wrapper as shown below:
Figure 6: Menu Bar view to select Generator
If there are no return argument configured for the Custom_C block, then a default value is automatically created and its type is set as void. Following Warning Message is displayed while setting the default value:
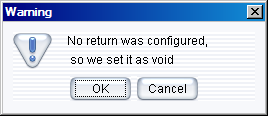
Figure 7: Result of the Generation
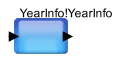
Figure 8: Look and Feel of the New Block Created
Note: Open the “vsout.txt” file under the libraryDirectory to verify the errors that could have caused any unsuccessful compilation process. These could help to correct any mistakes in the interface C code.
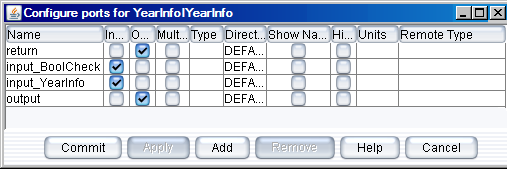
Figure 9: Configuring Ports
If the type is not supported, an Error Message window appears as below. The following error message is displayed if the type is specified as “bool” instead of “boolean”.
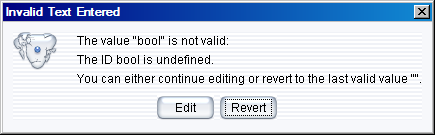
Figure 10: Error Message for incorrect data type at the interface
|
|
Equivalent VisualSim Types |
char[] |
String |
short, int, long |
Long |
float, double |
Double |
int[ ] |
{int} |
long[] |
{long} |
float[] |
{double} |
{ Name=char[5]; Id=int} |
general |
Table 2: C\C++ Arguments and Equivalent VisualSim Types
Note: { Name=char[5]; Id=int} is representation for the C\C++ structure like the one below:
struct Example{
char Name[ ];
int Id; };
The “MoniterValue” result block can be dragged on to the canvas on the right from the Result library under Text. Similarly the “Const” input block can be obtained from the Function > Math and Trig. Control-click to create the relations from the toolbar.
Connect all the blocks as shown in the Figure 3, add an Untimed Digital Simulator (located under “Model\Simulator Engine) and change the number of iterations from 0 to 1 by double-clicking the Untimed Digital Simulator.
Click the “Run” button in the IDE or Press Ctrl+R to execute the model.